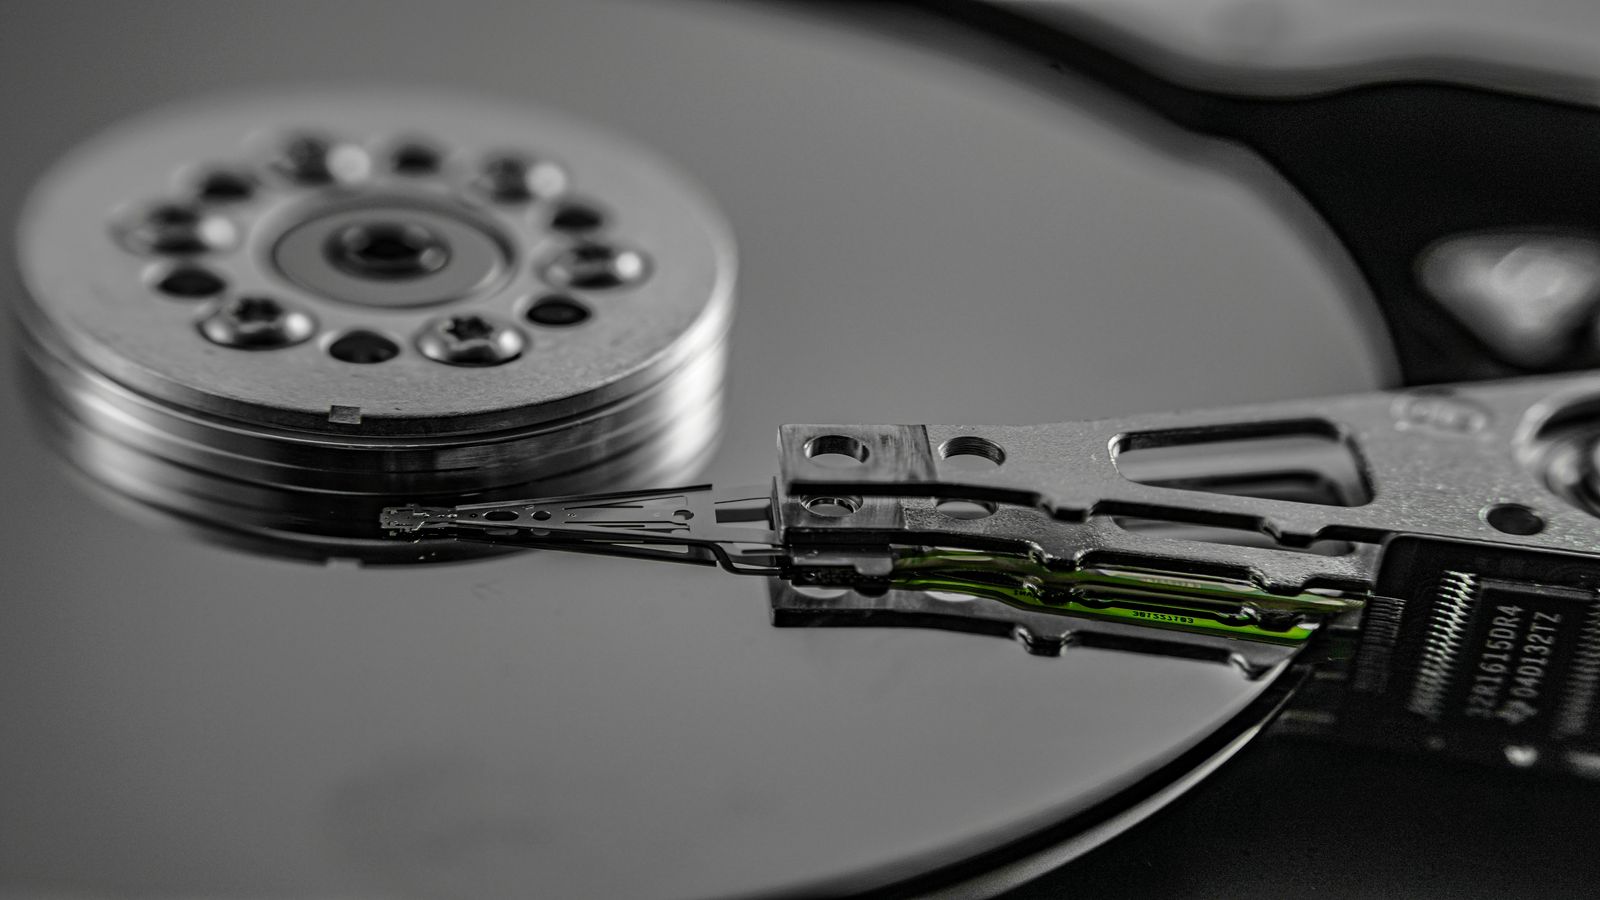
When a hard drive starts clicking, an SSD begins throwing I/O errors, or SMART data shows reallocated sectors climbing, you are in a race against time. GNU ddrescue is the tool that gives you the best chance of recovering data from a failing storage device — it reads good sectors first, skips bad areas, and maps the entire recovery operation so you can resume after interruptions without re-reading what has already been saved. On Ubuntu 24.04, ddrescue is one apt install away, and knowing how to use it before you need it is the difference between recovering your data and losing it. This guide covers installation, the correct recovery workflow, mapfile strategy, post-recovery file system repair, and the mistakes that cost people data.
Installing ddrescue
sudo apt install gddrescue
Note the package name: gddrescue, not ddrescue. The ddrescue package in Debian/Ubuntu is a different, older tool with confusingly similar naming. You want GNU ddrescue, which is packaged as gddrescue.
Verify:
ddrescue --version
You should see “GNU ddrescue” in the output.
The Golden Rule: Never Write to the Failing Drive
Every recovery operation should follow this principle: read from the dying drive, write to a healthy drive, and never mount or fsck the dying drive. Every read operation on a failing drive risks further degradation. Minimise reads. Maximise the data saved per read.
You need:
- The failing drive (source)
- A healthy drive with at least as much capacity (destination)
- A separate drive or partition to store the mapfile (recovery log)
Step-by-Step Recovery
Step 1: Identify the Drives
lsblk -o NAME,SIZE,MODEL,SERIAL
Identify the failing drive (e.g., /dev/sdb) and the recovery target (e.g., /dev/sdc). Triple-check these. Writing to the wrong drive destroys data.
Step 2: First Pass — Rescue Good Sectors
sudo ddrescue -d -r0 /dev/sdb /dev/sdc /tmp/mapfile.log
Flags explained:
-d— Direct disk access, bypassing the kernel’s cache. Essential for failing drives.-r0— Do not retry bad sectors on the first pass. Skip them and come back later.
This first pass reads all the sectors the drive can serve quickly and marks bad areas in the mapfile. Depending on the drive size and health, this can take anywhere from thirty minutes to several hours.
Step 3: Second Pass — Retry Bad Sectors
sudo ddrescue -d -r3 /dev/sdb /dev/sdc /tmp/mapfile.log
The -r3 flag tells ddrescue to retry each bad sector up to three times. Sometimes a sector that failed on the first read succeeds on a subsequent attempt, especially if the drive has intermittent issues.
Step 4: Scrape Remaining Bad Areas
sudo ddrescue -d -R /dev/sdb /dev/sdc /tmp/mapfile.log
The -R flag reads the drive in reverse, starting from the last bad sector and working backwards. This sometimes recovers sectors that forward reads missed, particularly on drives with bad heads that struggle in one direction.
Step 5: Check the Recovery Status
ddrescue --show-status /dev/sdb /dev/sdc /tmp/mapfile.log
Or examine the mapfile directly:
head -20 /tmp/mapfile.log
The mapfile shows which sectors were recovered (+), which are pending (-), and which are unrecoverable (/). A recovery rate above 99.9% is typical for drives that are failing but not yet dead.
Understanding the Mapfile
The mapfile is ddrescue’s most important feature. It records the status of every sector range on the source drive:
# Mapfile. Created by GNU ddrescue
# Command line: ddrescue -d -r0 /dev/sdb /dev/sdc /tmp/mapfile.log
# Start time:   2026-04-25 10:30:00
# Current time:  2026-04-25 12:15:00
0x00000000  0x1000000  +
0x01000000  0x0002000  -
0x01002000  0x5000000  +
The + means rescued, - means not yet tried or failed, * means being worked on. Because of this mapfile, you can:
- Stop and resume at any time (Ctrl+C to stop, rerun the same command to resume)
- Swap to a different recovery machine — just copy the mapfile and the target drive
- Run multiple passes with increasing aggressiveness
Never delete the mapfile until the recovery is complete and verified.
After Recovery: Mount and Verify
Once ddrescue finishes, the target drive (/dev/sdc) contains a sector-by-sector copy of the original. Do not mount it read-write yet.
Check the Filesystem
sudo fsck -n /dev/sdc1
The -n flag runs a read-only check. If fsck reports errors, run it again without -n to attempt repairs:
sudo fsck /dev/sdc1
Mount and Copy Data
sudo mkdir /mnt/recovery
sudo mount -o ro /dev/sdc1 /mnt/recovery
ls /mnt/recovery
Copy recovered files to their final destination. Do not rely on the cloned drive as permanent storage — it is a recovery artifact.
Recovering Individual Partitions
If you know which partition contains your important data, you can target it specifically:
sudo ddrescue -d -r0 /dev/sdb2 /mnt/recovery/partition2.img /tmp/mapfile-part2.log
This creates an image file of just that partition. Mount it with:
sudo losetup -fP /mnt/recovery/partition2.img
sudo mount /dev/loop0 /mnt/recovery-part2
Common Mistakes That Cost Data
- Running fsck on the failing drive. Never. fsck writes to the filesystem to fix errors, which causes additional reads and writes on a dying drive.
- Forgetting the mapfile. Without a mapfile, ddrescue cannot resume. If the drive disconnects mid-recovery (common with failing USB enclosures), you have to start over.
- Using
ddinstead ofddrescue. Plainddhas no error handling — it either copies a sector or hangs indefinitely waiting for a bad sector to respond. ddrescue skips, retries intelligently, and tracks progress. - Not using direct mode (
-d). Without-d, the kernel’s I/O scheduler may reorder reads, which is less efficient on failing drives. - Recovering to the same drive. If you clone a failing drive back onto itself, you lose both the original and the recovery attempt.
When to Use a GUI: ddrescue-gui
If you prefer a graphical interface:
sudo apt install ddrescue-gui
ddrescue-gui provides a visual display of the recovery progress, including a map of recovered versus bad sectors. Under the hood, it runs the same GNU ddrescue commands.
Related Reading
- Ubuntu 24.04 Post-Install Checklist — setting up Timeshift for regular backups
- Cool Retro Term — a more pleasant terminal for long recovery sessions
- XAMPP on Ubuntu 24.04 — another CLI-driven tool guide