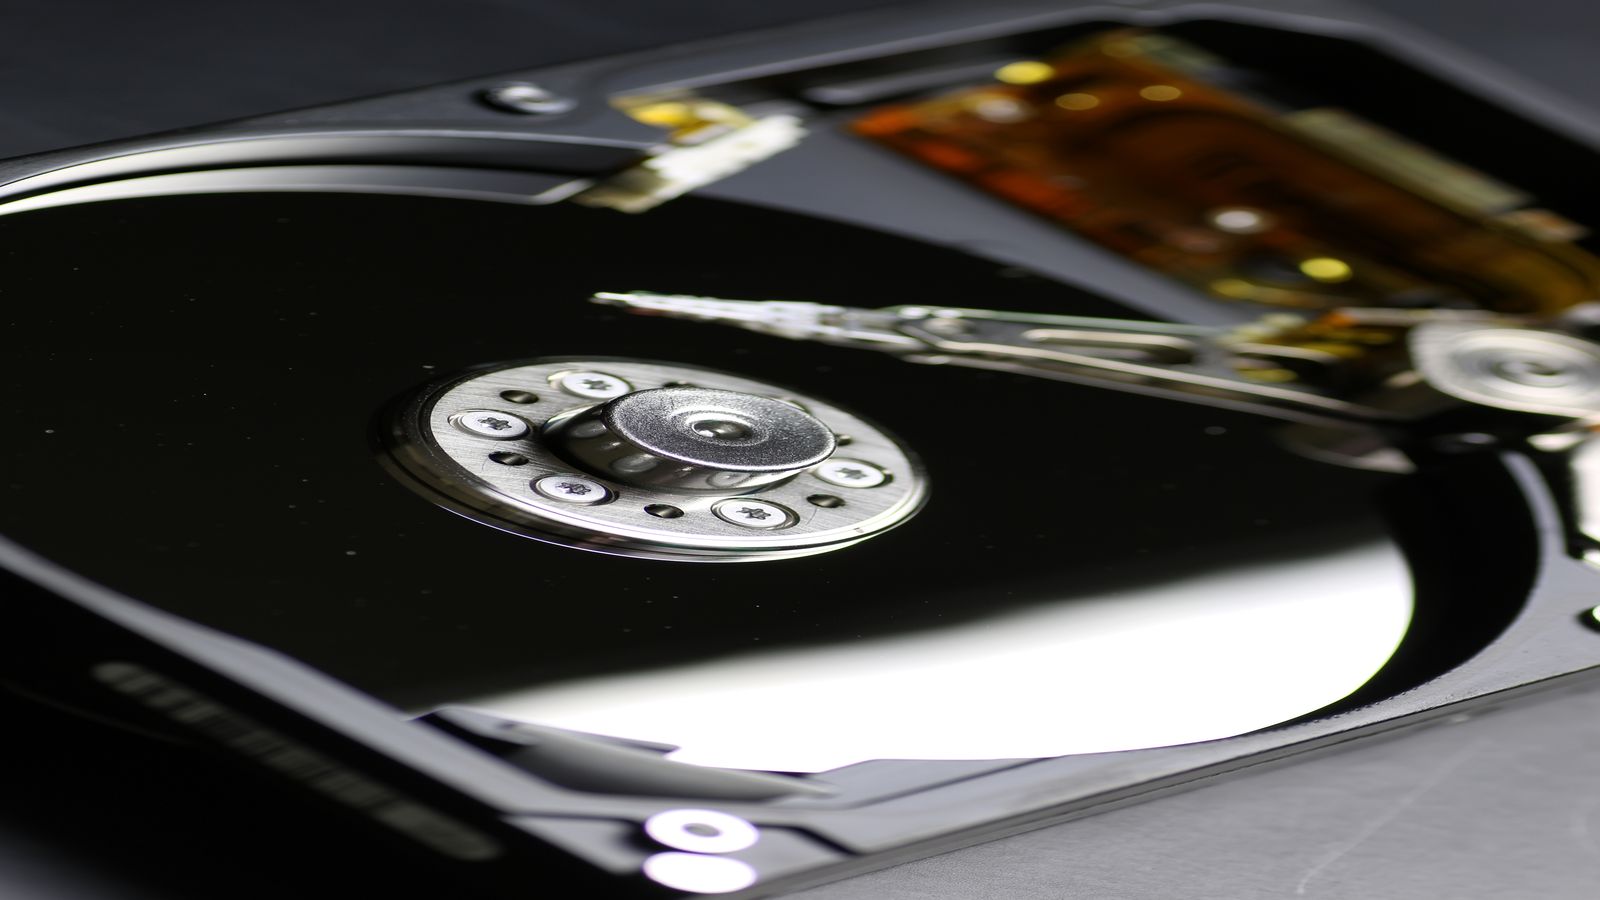
When a hard drive starts clicking, throwing I/O errors, or taking thirty seconds to read a file that should load instantly, your first instinct should be to stop using it immediately and start a recovery. GNU ddrescue is the gold standard for this on Linux — it copies data from a failing drive intelligently, skipping bad sectors on the first pass and retrying them later, all while maintaining a map file that lets you resume an interrupted recovery without re-reading sectors you have already saved. The problem is that ddrescue is a command-line tool with a syntax that is not intuitive when you are stressed about losing data. DDRescue-GUI wraps the entire workflow in a graphical interface — select your source drive, pick a destination, click start. This guide covers installation on Ubuntu, a real recovery workflow, how to read the map file that ddrescue produces, and how to decide whether ddrescue is even the right tool for your situation. We have used ddrescue to recover data from everything from laptop drives with firmware faults to USB sticks dropped in washing machines, and the GUI makes the process accessible without sacrificing any of ddrescue’s power. For related filesystem topics, our Filesystems and Mounts reference covers partition schemes, fstab, and mount options.
What ddrescue Actually Does
Most people’s first thought when a drive is failing is to copy files off it. The problem: a normal file copy (drag-and-drop in a file manager, cp, or even rsync) reads files sequentially and halts when it hits an unreadable sector. At that point, the copy either fails entirely or skips the file and moves on — but it does not come back to retry the failed areas, and it does not keep track of what succeeded.
ddrescue works at the block device level, not the filesystem level. It reads the entire drive (or partition) sector by sector, writing an exact copy to a destination file or device. When it hits an unreadable sector, it logs the position and size in a map file (sometimes called a log file) and moves forward. After the first pass completes — having copied all the easily readable data — you run ddrescue again with the same map file, and it goes back to retry only the sectors that failed. You can run as many passes as you want, using progressively more aggressive retry options.
This approach is critical for failing drives because every second spent retrying a bad sector is a second the drive is powered on and potentially degrading further. By copying the good data first and coming back for the bad areas later, ddrescue maximises the total amount of data recovered.
Installing DDRescue-GUI
Step 1: Install GNU ddrescue
The GUI is a frontend — you still need the underlying ddrescue binary. Install it from the Ubuntu repositories:
sudo apt-get update
sudo apt-get install gddrescue
Note the package name: gddrescue, not ddrescue. The ddrescue package in some repositories refers to the older dd_rescue tool — a different program entirely.
Step 2: Install DDRescue-GUI
DDRescue-GUI is distributed as a .deb package. Download the appropriate version for your Ubuntu release from the project’s release files and install:
cd ~/Downloads
sudo dpkg -i ddrescue-gui_*_all.deb
sudo apt-get -f install
The -f install step resolves any dependencies the GUI needs — primarily Python and wxPython (the toolkit it uses for its interface).
Step 3: Launch the GUI
Find DDRescue-GUI in your application menu under System Tools, or launch from a terminal:
sudo ddrescue-gui
Running with sudo is necessary to access raw block devices.
Basic Recovery Workflow
Step 1: Identify the Source Drive
Connect the failing drive (ideally via a USB-to-SATA adapter to avoid stressing the drive’s own SATA interface if the original controller is suspect). In DDRescue-GUI, click the “Source” dropdown to see available block devices. The GUI lists devices by their /dev/ name and size — for example, /dev/sdb might show as “500 GB” if that is the failing drive.
Critical: double-check the device name. Getting source and destination reversed will overwrite the failing drive with empty data. Run
lsblkin a terminal to confirm which device is which before proceeding.
Step 2: Choose a Destination
Click the “Destination” field and either select another block device or specify a file path. For safety, saving to an image file is recommended:
/home/youruser/recovery-image.img
Make sure the destination has at least as much free space as the source drive’s total capacity.
Step 3: Set the Map File Location
DDRescue-GUI will prompt for a map file path. This is not optional — the map file is what makes ddrescue resumable. Place it somewhere that will not be lost:
/home/youruser/recovery-map.log
Step 4: Start the Recovery
Click “Start.” The GUI displays real-time progress: sectors read, sectors failed, current read speed, estimated time remaining, and a visual map showing which areas of the drive have been read, which are pending, and which have errors.
The first pass runs at full speed, copying everything that reads without errors. Depending on the drive’s condition, this might recover 95% or more of the data in one pass.
Step 5: Run Additional Passes
After the first pass, failed sectors are marked in the map file. Click “Start” again — ddrescue reads the map file, sees what failed, and retries only those areas. You can increase the retry count in the settings if you want ddrescue to be more persistent with each failed sector.
Each additional pass may recover a few more sectors as the drive’s read heads succeed on retries. Diminishing returns set in quickly — if a sector fails ten times, it is almost certainly physically damaged.
Interpreting the Map File
The map file is a plain-text file with lines like:
# Mapfile. Created by GNU ddrescue version 1.19
# current_pos  current_status
0x00000000     ?
# pos        size        status
0x00000000   0x1F400000   +
0x1F400000   0x00002000   -
0x1F402000   0x3A800000   +
Each line in the data section has a position (hex), size (hex), and status character:
+means successfully read-means failed (not yet retried or still failing after retries)*means currently being processed?means not yet attempted/means read with errors but partially recovered
A healthy recovery has mostly + lines. Clusters of - lines indicate physically damaged areas of the drive.

Accessing Recovered Data
If you cloned to an image file, mount it to access the filesystem:
sudo mkdir /mnt/recovery
sudo mount -o loop,ro /home/youruser/recovery-image.img /mnt/recovery
The -o ro flag mounts read-only, preventing accidental modification. If the drive had multiple partitions, use fdisk -l recovery-image.img to find partition offsets and mount individual partitions with the offset= option.
If sectors in critical filesystem structures (superblock, inode tables) were unrecoverable, the mount may fail. In that case, try filesystem repair tools:
sudo fsck -y /home/youruser/recovery-image.img
Run fsck on the image, never on the original failing drive.
Common Pitfalls
Recovering to the same physical drive. Never write the recovery image to the same drive you are recovering from. This includes partitions on the same physical device. Use a separate drive or a network share.
Forgetting the map file. If you run ddrescue without specifying a map file and the process is interrupted (power loss, system freeze, USB disconnect), you have to start over from scratch. Always use a map file — it costs nothing and makes recovery resumable.
Using the wrong ddrescue. The package ddrescue and gddrescue are different tools. DDRescue-GUI requires GNU ddrescue (installed via gddrescue). If the GUI launches but produces errors about unexpected command-line flags, check that you have the right package installed.
Running the failing drive longer than necessary. Every minute the drive is powered on and spinning increases the risk of further degradation. Do not browse the drive’s files, do not run fsck on the live drive, do not attempt to defragment it. Connect it, image it with ddrescue, then disconnect it. All data analysis and repair should happen on the image copy.
Ignoring SMART warnings. Before connecting a drive for recovery, check its SMART status: sudo smartctl -a /dev/sdX. If SMART reports “FAILING_NOW” on critical attributes like Reallocated Sector Count or Current Pending Sector, the drive is actively dying and your recovery window may be very short.
When to Use ddrescue vs. Other Tools
ddrescue is the right choice when the problem is physical: failing sectors, head crashes, firmware issues that cause read errors. It is a block-level imaging tool, not a filesystem-aware recovery tool.
If the drive is physically healthy but you deleted files or formatted a partition, use filesystem-recovery tools like photorec, testdisk, or extundelete instead. These tools understand filesystem structures and can find deleted files by scanning for file signatures.
If the drive is completely unresponsive (not detected by the BIOS/UEFI, no spin-up sound), ddrescue cannot help because there is no block device to read from. That scenario requires professional data recovery services with cleanroom facilities.
For the common scenario of “the drive works but is slow and throws occasional errors,” ddrescue is exactly right. Image first, ask questions later.